How to setup the device?
Learn about the setup process for V660 device supported by Wpay.
Charging
The V660P can be charged using the included USB-C cable and power pack.
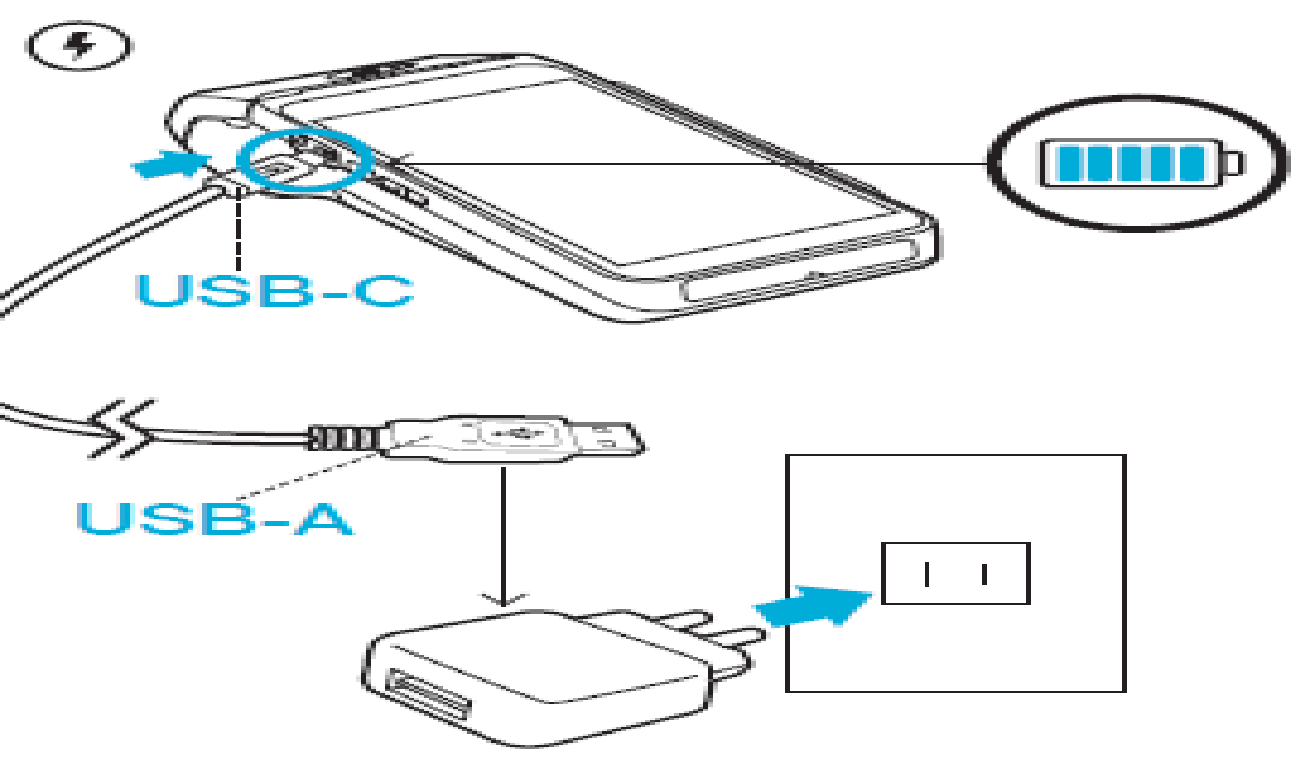
Charging Port
The Full Feature Base is powered by a separate powerpack and uses a standard pin connector. If using the Full Feature Base, the USB-C cable is not required, and should not be used when the V660P is charging from the Base.
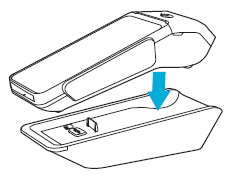
Feature Base
You should advise the merchant to charge V660P for eight hours, or until fully charged before removing it from power.
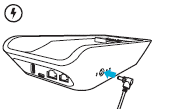
Power Port
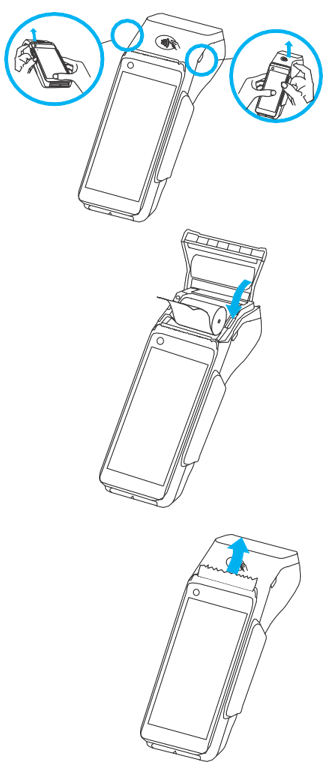
Paper Roll
Install the paper roll by lifting the cage cover. Ensure the leading edge of the role is coming up from the bottom of the roll towards the body of the device.
Close the cage ensuring the leading edge is exposed
Paper Roll
Power Button
The battery and SIM card are preinstalled into the device. No out of box assembly is required.
To power on the device, hold down the power button for 3 seconds. The power button is located on the left of the unit, next to the USB-C charging port
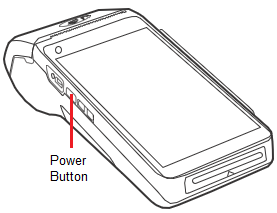
Power Button
NOTE: To power off the device, or restart, hold the power button for 3 seconds, then tap “Power Off” or “Restart” on the V660P Screen.
Logo
During boot, the terminal will display your company logo, followed by the Android logo on a black background.

Logo
Language Selection
Select the language English (Australia) will be selected by default and press “NEXT”
NOTE: You can press the

icon to see additional information about the device. Customer ID will confirm the device is loaded with WPAY Production software.
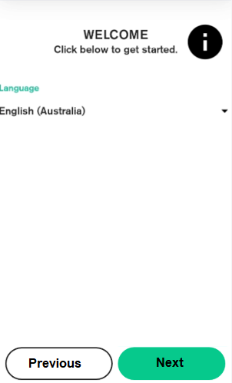
Language Selection
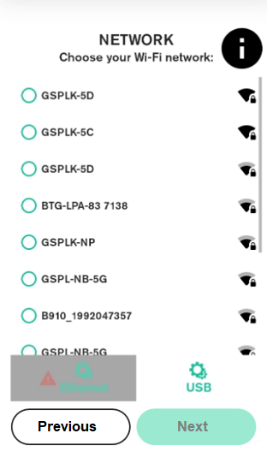
Network Selection
The unit will perform a network scan for available Wi-Fi networks. You cannot skip this step at first setup. You can also tap APN to connect via 4G using the TelstraM2M connection.
- Select the desired Wi-Fi Network, and press “Next”
- Enter the Wi-Fi Network Password.
- The device will connect to the network, update the date and time, and connect to Verifone VHQ system.
Network Selection
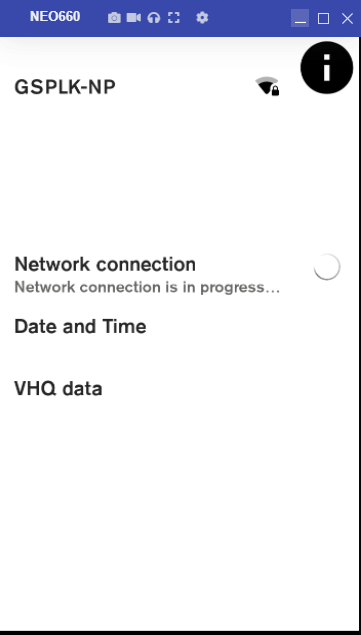
Network Selection
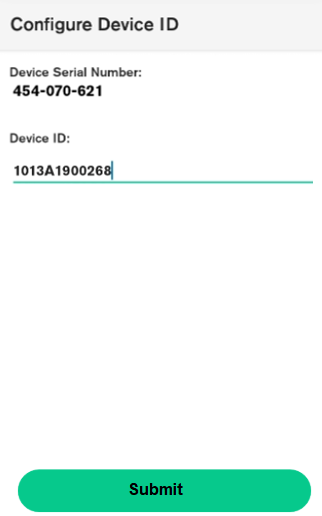
Configure DeviceID
Once the device has connected to a Wi-Fi network, you will be prompted to configure the Device ID. Tap on the grey line to open the keyboard to enter the TID into the Device ID Field, and press Submit.
NOTE: once a device is at the Configure Device ID stage, it is locked to this screen until the configuration is complete.
DeviceID
Terminal Configuration
Once the device ID is entered, the terminal will contact VHQ and commence its configuration download, including checking for, and installing software updates if required.
Device ID must be prefixed with “1013”. For example: TID “SP056789” should be entered as “1013SP056789”
NOTE: If a software update is required, the device will reboot several times during the update. Ensure the device has a constant power connection during this process.
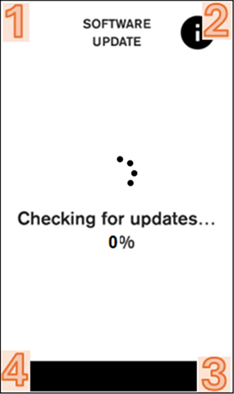
Terminal Configuration Status
The screen may continue displaying “Checking for updates” for an extended period if no updates are available for the
device.
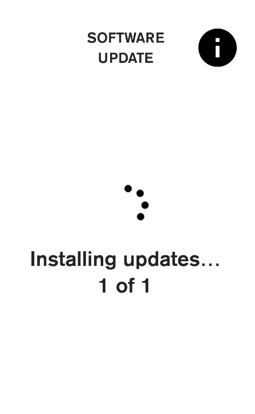
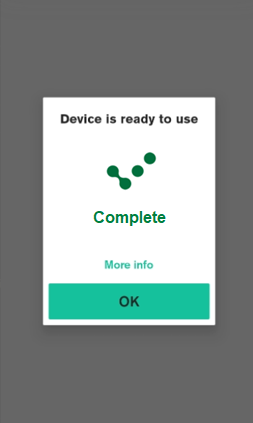
Software Update
Software update and configuration have successfully been downloaded from VHQ.
Software Update Status
Merchant Information
Check the Merchant details against the information in the job details.
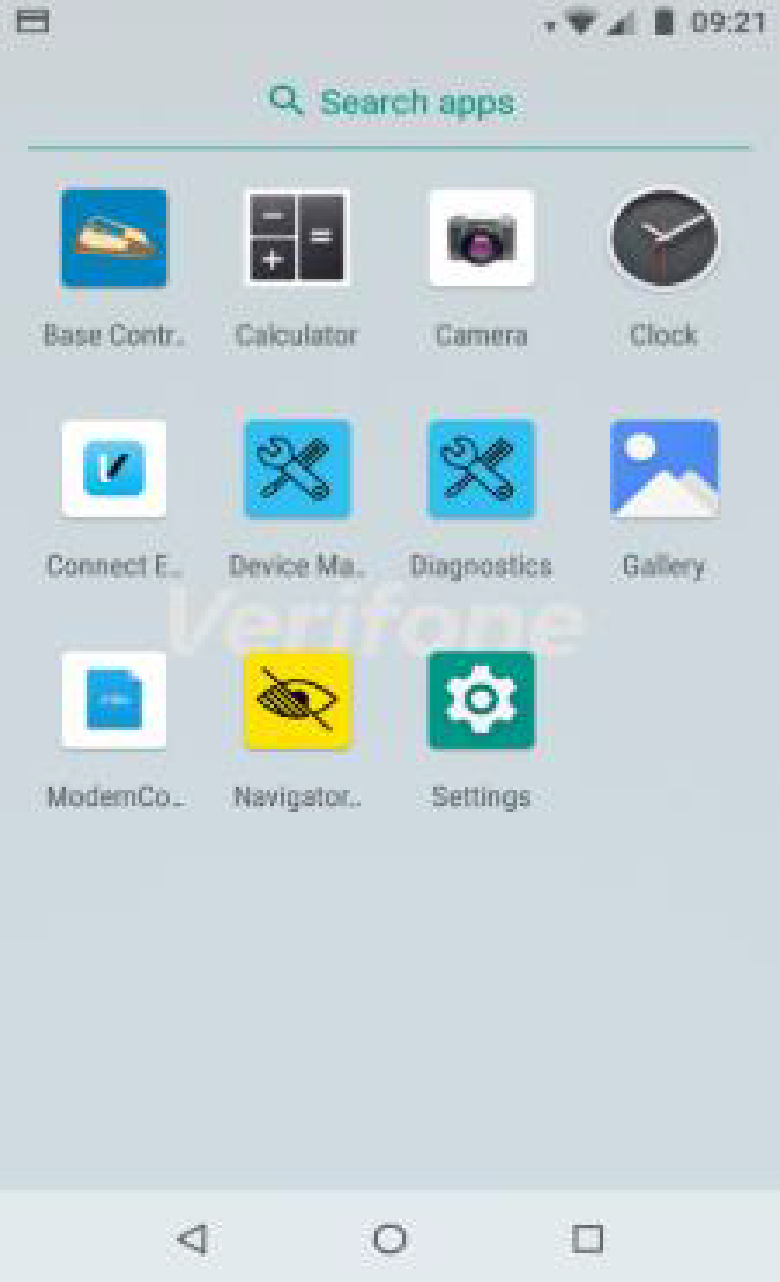
Menu Options
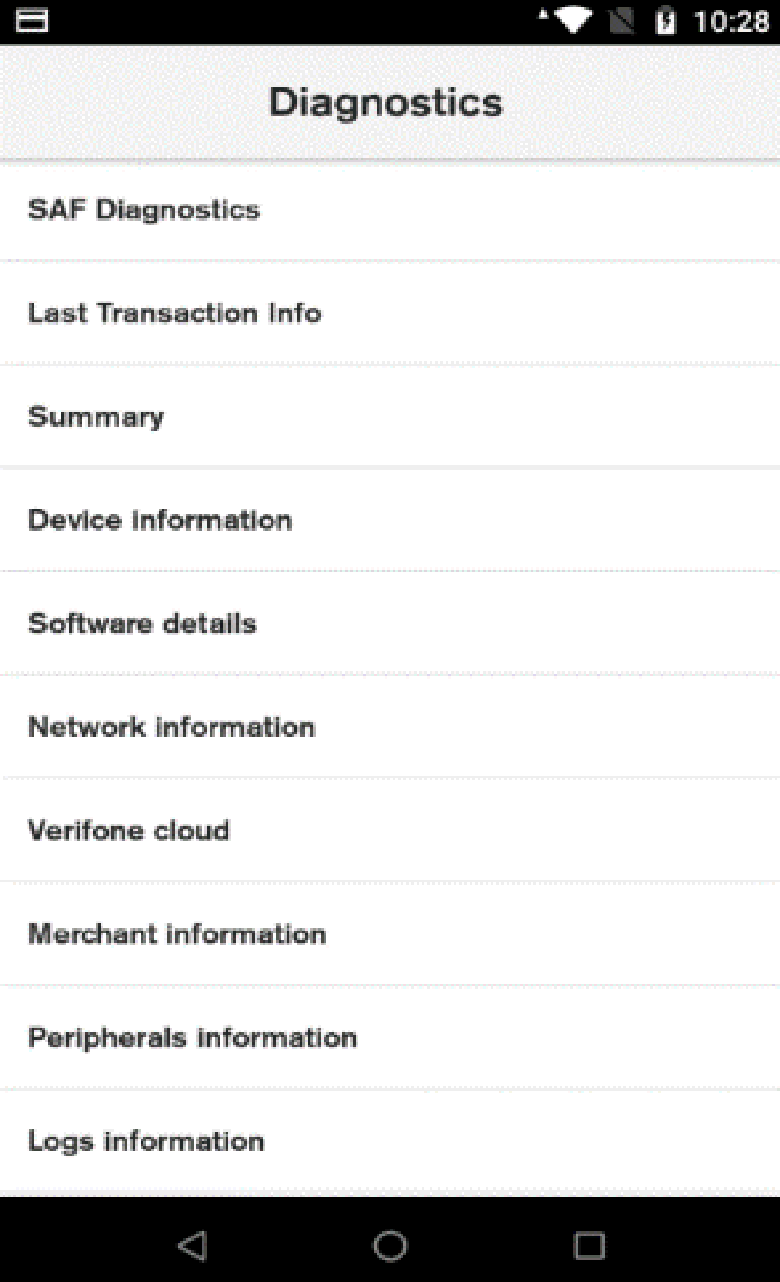
Merchant Information
Confirm the merchant details swipe down from the top and tap the app launcher icon , tap Diagnostics, then Merchant Information.
IMPORTANT: The device will not print a log on receipt.
Updated 4 months ago