Customer Experience Considerations
While in checkout, buyers need to be provided with the option of paying with PayTo. Three scenarios need to be considered:
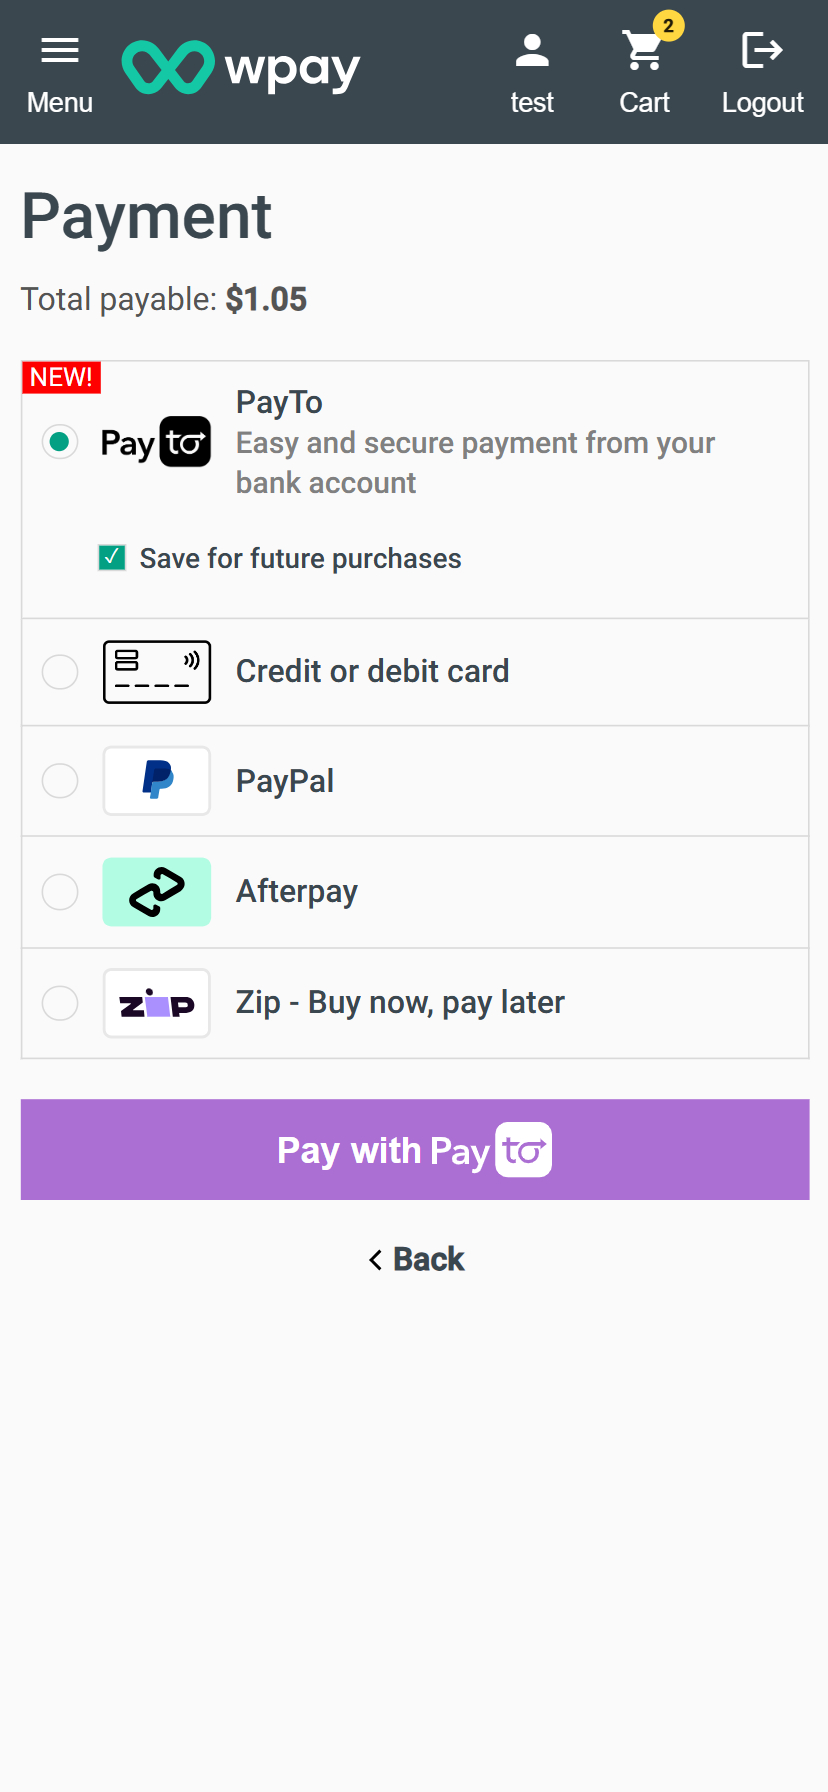
- Buyer has no saved PayTo instruments, and must be given the option to pay with PayTo.
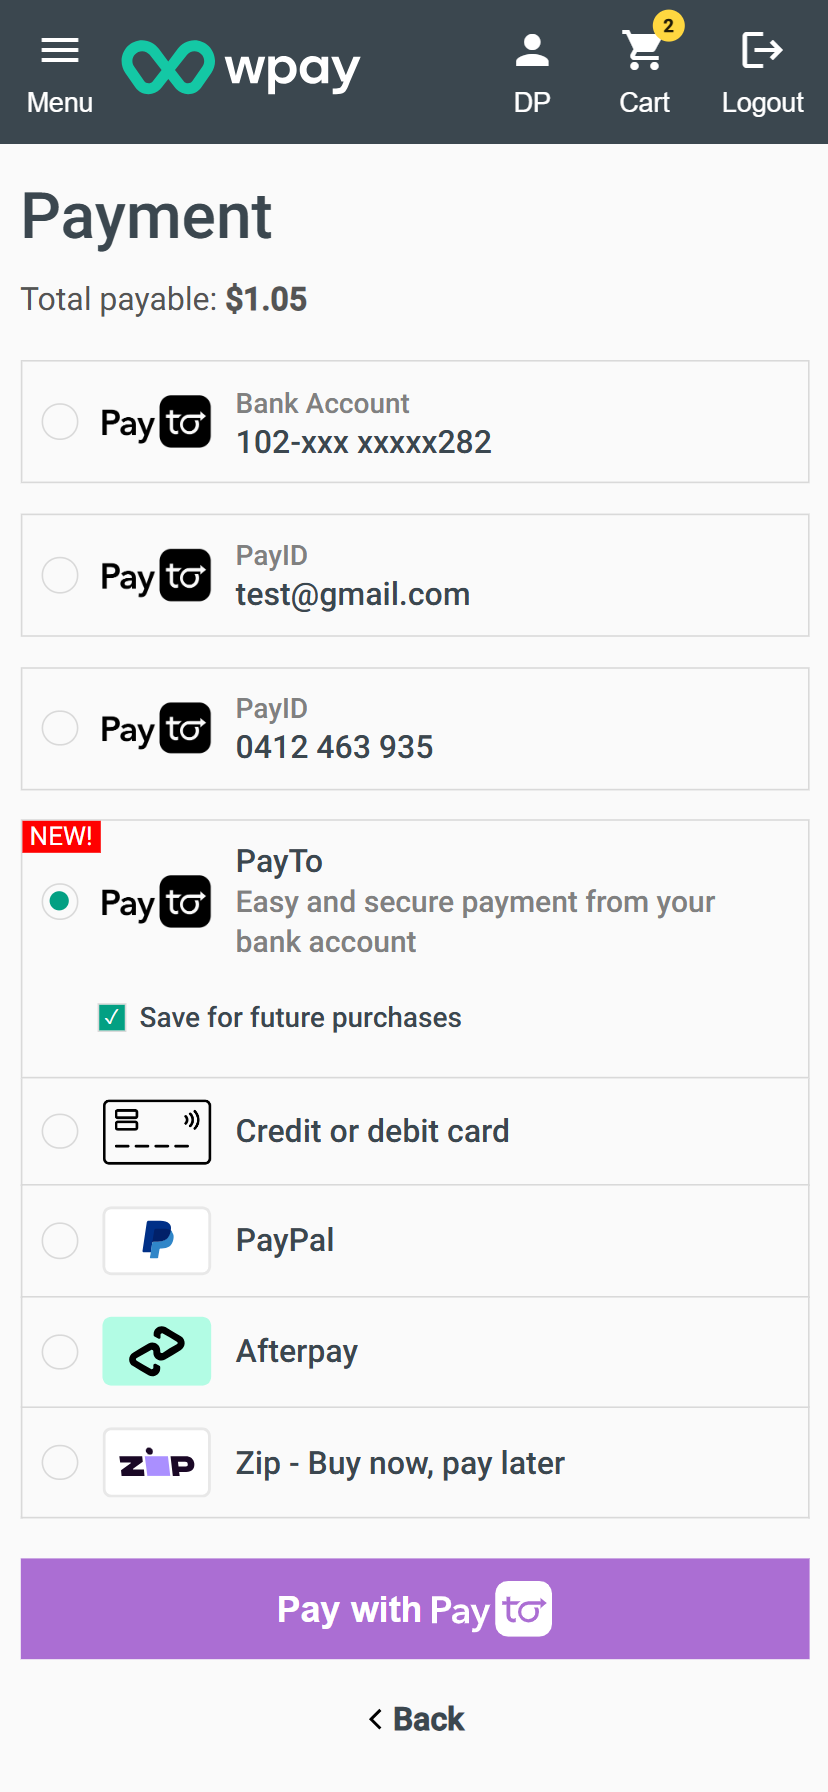
- Buyer has at least one PayTo instrument, and should be given the option to pay with a new one (e.g. they might want to use a different bank account).
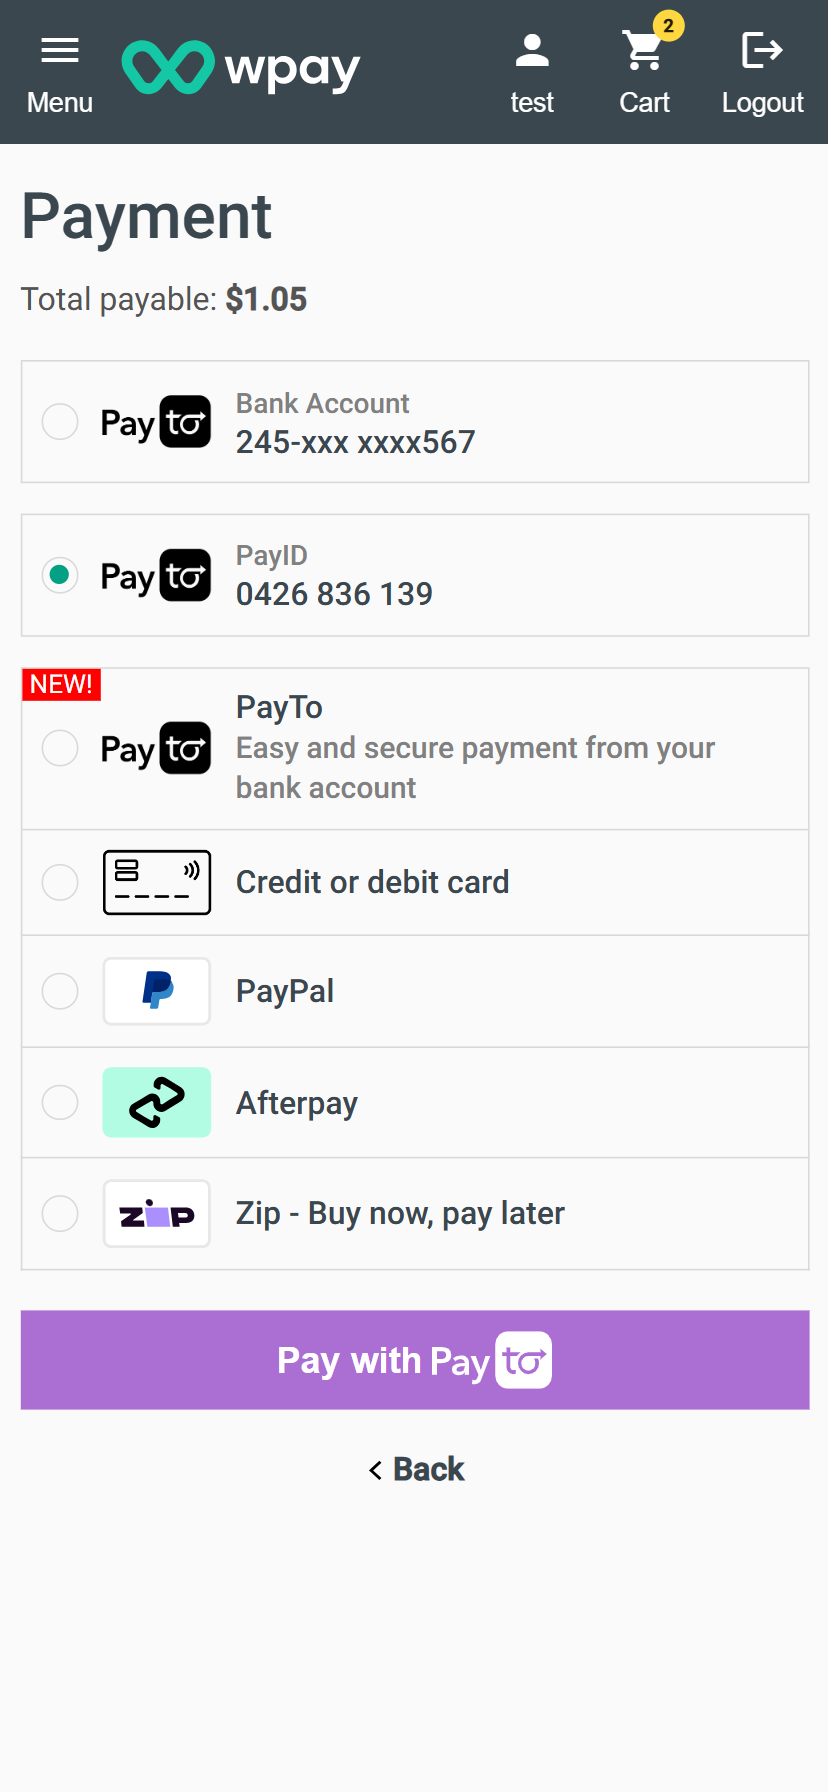
- Buyer has at least one PayTo instrument, and is selecting one of them to pay with.
To pay with PayTo, buyers must be redirected to our PayTo experience. Upon successful redirection buyers will perform the following steps.
Scenarios 1 and 2:
- Submit their bank account details, which in turn creates the PayTo instrument;
- Authorise the agreement in their bank, therefore activating the PayTo instrument and triggering the payment;
- Watch the PayTo payment process to completion in real-time, and then be redirected back to the merchant's e-commerce store.
Scenario 3:
- Watch the PayTo payment process to completion in real-time, and then be redirected back to the merchant's e-commerce store.
Back in the merchant's e-commerce store, buyers will see the outcome of their payment.
To perform this redirect, you must
- Call the POST Checkout Session API for scenarios 1 and 2; Call the POST Payment API for scenario 3.
- Use the received Wpay redirection URL to perform a browser redirect.
Best PayTo customer experience
- Display the PayTo payment method in line with other payment methods already available in your store
- Incorporate the PayTo logo
- Incorporate a catchy tag line (e.g. Immediate, easy and secure payment from your bank account.)
- Tag this payment method as 'New!'
- Tailor the action button, 'Pay with PayTo', and brand with logo
UX/UI sample 1: Buyer has no PayTo instruments, and is paying with PayTo
UX/UI sample 2: Buyer has a saved PayTo instrument; However is paying with a new PayTo instrument
UX/UI sample 2: Buyer has a saved PayTo instrument, and is selecting it to pay with
Alternative Make Payment API method
We do not recommend using our Make Payment API for buyer-initiated payments, as it does not provide an optimal customer experience when payments are declined or instruments require attention.
Our Make Payment API method is primarily designed for merchant-initiated payments, where the buyer is not present at the time of initiation.
Updated over 1 year ago